How one can Bypass iCloud Lock
In some stage of life we get into the state of affairs the place our iDevices get iCloud lock. We’re able to typically unlock it by way of the utilization of our iCloud electronic message and password nonetheless normally we neglect our password and can’t get any concept the simplest method to get into the iDevices. Typically this drawback happens as quickly as we buy the used gadgets from others at low-cost price.
This bypass id Compatibility with iPhone 5s to iPhone X!
Supported iOS: 12.Three to 13.2.3 (patched on iOS 13.3)
Observe: this system is only for educational aim. you are accountable for every job you perform!
Necessities:
- Mac (For the time being it’s supported solely in Mac)
- Web
- iCloud Locked Machine
- USB Cable (To attach iPhone to Mac)
- Python (Newest Model)
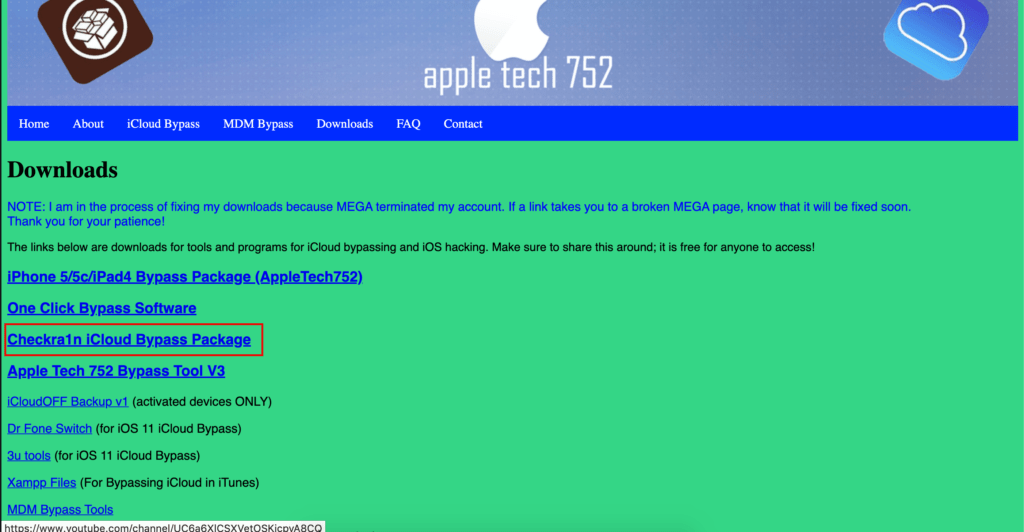
- Checkra1n iCloud Bypass package deal deal deal
How one can Bypass iCloud Lock
Steps:
- Purchase all of the Checkra1n iCloud Bypass package deal deal deal from this hyperlink.

- Extract the Checkra1n iCloud Bypass package deal deal deal and open the installer.
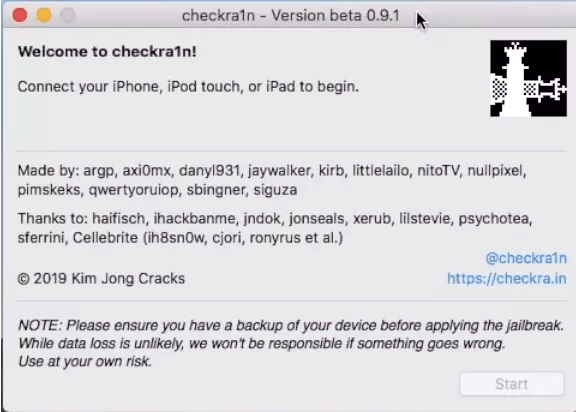
- After successfully putting in Checkra1n, open it.

- Be a part of your iCloud gadget to Mac utilizing USB cable.
- Flip your iPhone into DFU mode. (Inside the event you don’t know the simplest method to flip your iPhone into DFU Mode preserve studying we’ll take care of about it in finish of the tutorial.)
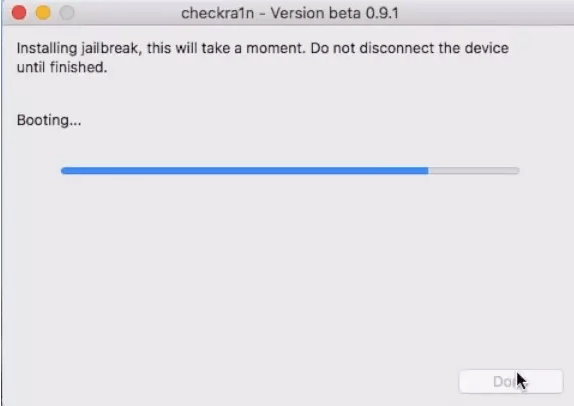
- After turning gadget into DFU Mode, Checkra1n will detect your gadget (It must detect in widespread mode too nonetheless DFU mode is useful). Then click on on on on begin and wait when Checkra1n work.

- Your gadget would possibly restart itself by way of the course of. If the gadget restarts, flip it as soon as extra into DFU Mode and repeat step 6.
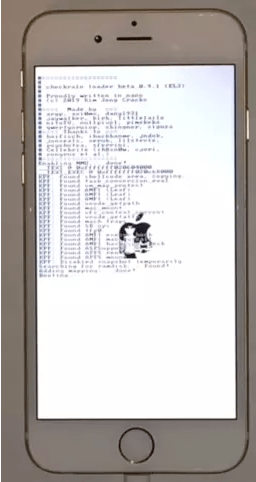
- Checkra1n will run exploit code all through the iPhone

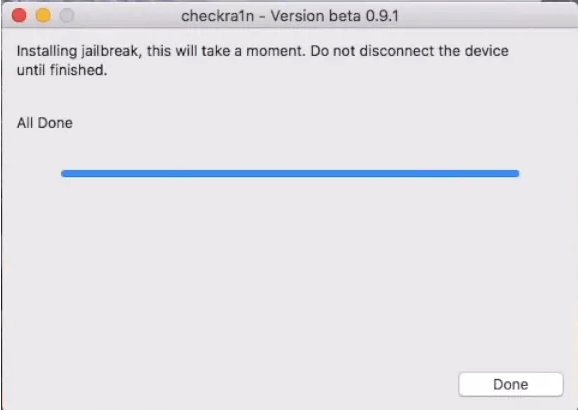
- After successfully working the exploit you may uncover the textual content material materials saying achieved in he Checkra1n.

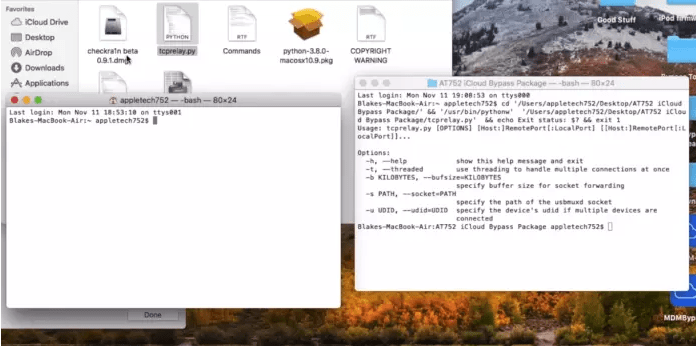
- Open the tcprelay.py from the Checkra1n iCloud Bypass package deal deal deal. You’ll obtain this by way of the utilization of the app generally known as Python launcher.
- Two terminal will open, one terminal with many textual content material materials and one completely different with few texts. We’ll quantity terminal with additional textual content material materials as terminal 1 and terminal with few texts as terminal 2.

- Now now we have now to enter some instructions in terminal 1 and terminal 2 as correctly. You may uncover all of the command utilized in Command.txt file
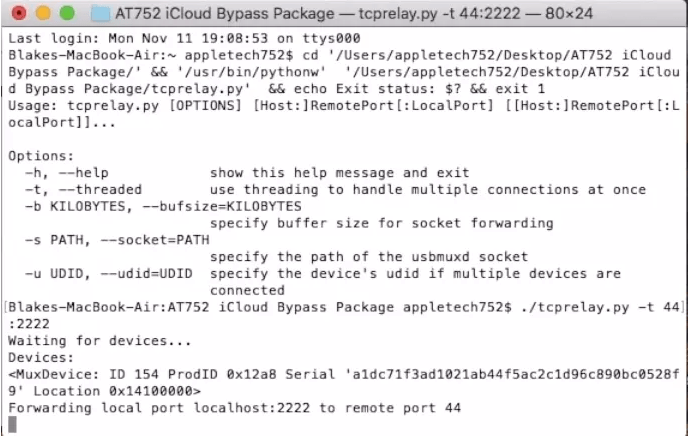
- In terminal one enter the next command :

./tcprelay.py -t 44:2222
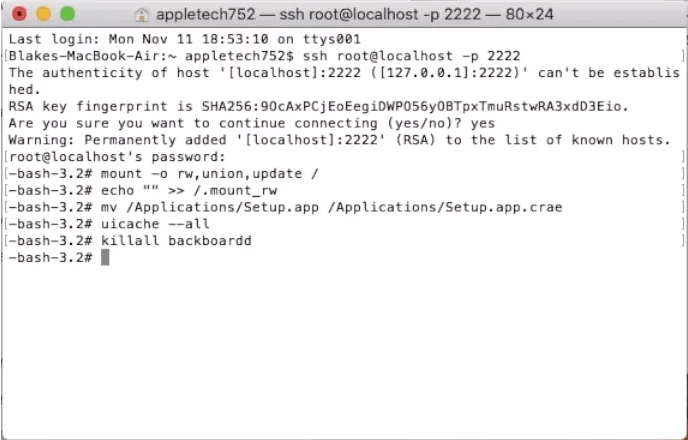
- Now we’ll do our the remainder of our work in Terminal 2. Enter the next command and press enter after each command (if it asks for password the password is alpha).
ssh root@localhost -p 2222
mount -o rw,union,change /
echo "" >> /.mount_rw
mv /Options/Setup.app /Options/Setup.app.crae
uicache --all
killall backboardd

- You might want successfully bypassed the iCloud Lock.
Credit score rating score for this bypass goes to Apple Tech 752, Apple Demo, and Exploit3d.
How one can flip gadget to DFU Mode.
iPad, iPhone 6s and beneath, iPhone SE and iPod contact
- Be a part of the gadget to a pc utilizing a USB cable.
- Preserve down each the Residence button and Lock button.
- After Eight seconds, launch the Lock button whereas persevering with to carry down the Residence button.
- If the Apple emblem seems, the Lock button was held down for too extended.
- Nothing is prone to be displayed on the present when the gadget is in DFU mode. If open, iTunes will warn you {{{that a}}} gadget was detected in restoration mode.
- In case your gadget reveals a present telling you to attach the gadget to iTunes, retry these steps.
iPhone 7 and iPhone 7 Plus
- Be a part of the gadget to a pc utilizing a USB cable.
- Preserve down each the Side button and Quantity Down button.
- After Eight seconds, launch the Side button whereas persevering with to carry down the Quantity Down button.
- If the Apple emblem seems, the Side button was held down for too extended.
- Nothing is prone to be displayed on the present when the gadget is in DFU mode. If open, iTunes will warn you {{{that a}}} gadget was detected in restoration mode.
- In case your gadget reveals a present telling you to attach the gadget to iTunes, retry these steps.
iPhone 8, iPhone Eight Plus and iPhone X
- Be a part of the gadget to a pc utilizing a USB cable.
- Fast-press the Quantity Up button
- Fast-press the Quantity Down button
- Preserve down the Side button till the present goes black, then hold down each the Side button and Quantity Down button.
- After 5 seconds, launch the Side button whereas persevering with to carry down the Quantity Down button.
- If the Apple emblem seems, the Side button was held down for too extended.
- Nothing is prone to be displayed on the present when the gadget is in DFU mode. If open, iTunes will warn you {{{that a}}} gadget was detected in restoration mode.
- In case your gadget reveals a present telling you to attach the gadget to iTunes, retry these steps.


